Displacement map baking
Displacement map is a grey scale image. Displacement map is control by alpha gain. Normal or bump map only gives the illusion of surface Relief. But in displacement map it actually displaces the mesh. Here we are going to bake a displacement map.
1. Create a low detail and high detail mesh.
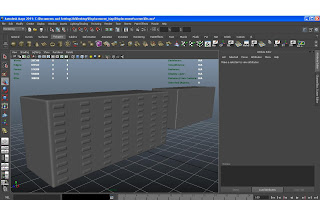
High detail mesh
2. Unwrap the low detail mesh without overlapping of UV’s. both objects should be on same place.
3. Now select low detail mesh and go to rendering menu set and choose lighting & texturing then go to transfer maps.
Reading –Lighting &texturing –transfer maps
4. It will open a dialogue box.
Set low detail mesh as a target mesh.
Add high detail mesh as a source mesh.
Select displacement map.
Select the file format for your map.
Common setting- set the map width & height.
Set max search depth(%) = 25 at this it will give you good results.
Switch to envelope mode and set the amount5. Bake and close.
Displacement Map
6.Now open this map in Photoshop where we are going to add some more details and save it.
7- Now in Maya select low detail mesh and assign new shader and go to shader shading group.
8- Select displacement and add displacement map to it.
9- Now go to color balance and set the alpha gain value to set the surface relief. Render it and check the output.
Change the alpha gain values and render it to see the result.
10- Now go to modify and select convert displacement to polygon. Here we have new geometry with details.


i really appereciate it.
ReplyDelete